
DO YOU KNOW HOW TO IRON YOUR SHIRT PROPERLY?
DO YOU KNOW HOW TO IRON YOUR SHIRT PROPERLY?
Table of Contents
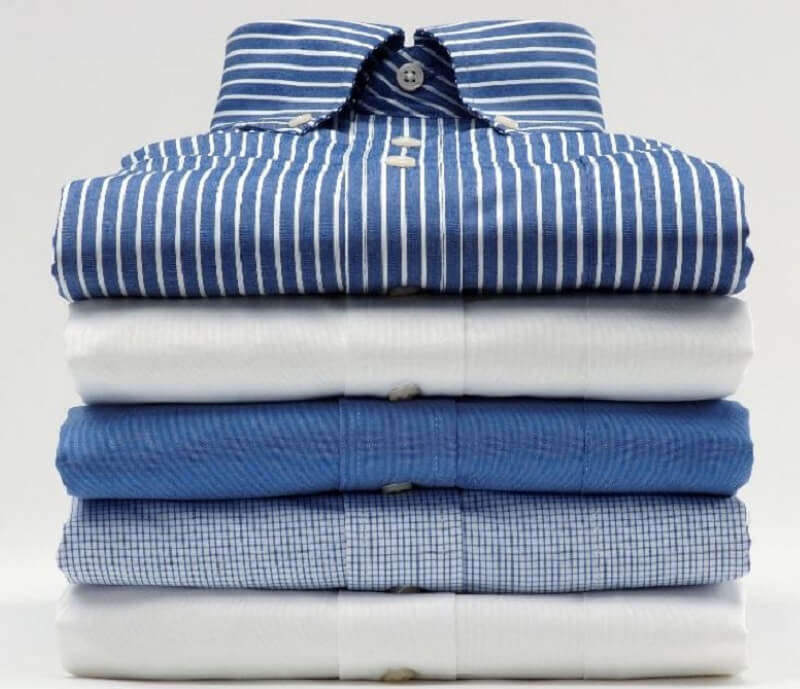
Shirts are an indispensable item in the wardrobe of many people, from men to women, from students to working people. However, there are still quite a few people who know how to iron shirts properly and beautifully to become more polite on important occasions. Please follow the following article to keep your shirt flat
What should you pay attention to when ironing to quickly flatten your shirt?

About temperature
- Shirts are sewn from many different materials such as cotton, canvas, chiffon, silk, etc. Each fabric will have a different level of heat resistance, so you need to know exactly what type of fabric the shirt is. Then adjust the heat level accordingly. You can check this information on the small piece of fabric printed on the back of your shirt collar. As follows:
- For synthetic fabrics, iron the shirt at 175 – 230 degrees Celsius
For silk fabric, iron the shirt at 250 – 300 degrees Celsius
For linen or cotton, turn on the steam mode and iron at a temperature of 320 – 400 degrees.
Ironing at the correct heat level required by the shirt fabric will help the shirt quickly flatten, keep its shape well and prolong its useful life.
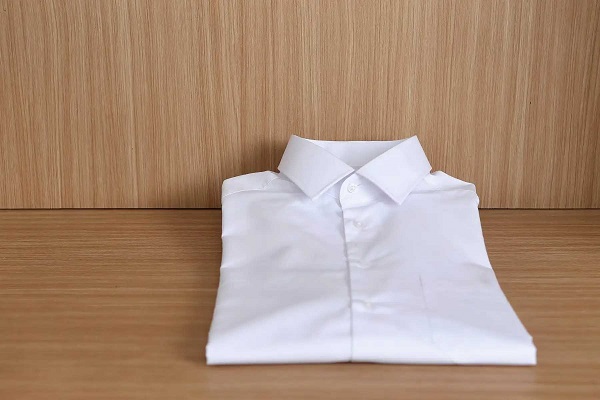
Ironing shirts with an iron is extremely simple
Implementation steps include:
Step 1: Iron the collar
- The first step in ironing this shirt is ironing the collar. Please note that you need to iron the inside of the collar gently. If you have an iron, place the collar on top so that the wide part of the collar is open, this will help avoid creating wrinkles in the collar. Then, turn the collar over and iron the opposite side similarly.
- A smooth and neatly ironed collar will give a sturdy look and keep the collar upright when worn. This is an important step for gentlemen who often wear shirts that you need to pay attention to.
Step 2: Iron the shoulders and armpits
- After ironing the collar, we will move on to ironing the shoulders. Flat shoulders will help you look more confident when wearing it. Move the iron to the shoulder and part of the sleeve to start ironing.
- If your iron is quite large and difficult to move inside the shirt, you can find a pillow or something with a flat surface. This surface should be made from fabric, then turn the shoulders out and place them on top. This will make ironing your shirt easier.
Step 3: Iron the cuffs
- The next step in ironing this first shirt is ironing the cuffs. For this part, people usually use many layers of fabric to sew. Therefore, you need to iron this part carefully to remove wrinkles from the shirt.
Step 4: Iron the rest of the sleeve
- This remaining part is often called the sleeve body. Move the iron in the direction from the armpit to the wrist. Be careful to place the two layers of sleeves so that they coincide with each other so as not to create additional folds on the shirt after ironing!
Step 5: Iron the front of the shirt with buttons
- This is also the part that often makes it difficult for many people because it is easy to get caught in the buttonhole area when ironing. When ironing this part, you should start from the gaps in the hem. Then, use the tip of the iron to iron the button to avoid damaging the button. This will take a little time but will help prevent your buttons from being damaged.
When ironing the hem, you should start from the gaps first to avoid damaging the buttonholes.
Step 6: Iron the back of the shirt
- The back of the shirt is quite easy to iron, you just need to place it neatly on the ironing board and turn the back of the shirt over, then start ironing the entire part and you’re done.
Step 7: Preserve the shirt
- After ironing is complete, the last step in this way of ironing shirts is to preserve them. Use a hanger to hang your shirt to prevent it from wrinkling again.
Contact us now to experience dry cleaning/dry cleaning service in HCM – free door to door delivery
See more:
HOW TO WASH NEW CLOTHES WITHOUT COLOR FADE
